Menu commands
Menu commands in the menu bar helps you to perform the following tasks:
- Starting a new design
- Loading and saving overlay files
- Switching between Edit and Preview modes
- Selecting overlay type (HD graphics overlay or dashboard layout)
- Configuring design pane properties
- Adding controls
- Opening on-line help
The following sections describes the functions of each menu command.
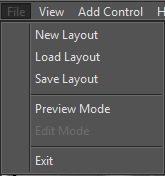
File menu
- New Layout (Menu command)
This clears the design pane of all of the controls, so that you can start a new design. To set the type of the new layout, please use the resolution setting commands in the View menu.
- Load Layout (Menu command)
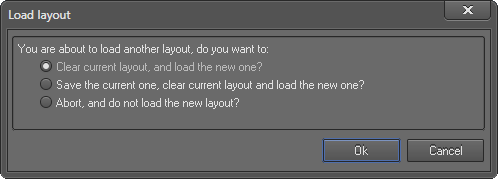
If the design area is empty, this menu item opens a File Open dialog that allows you to load a .DGL file. Controls are then laid on the design area as specified in the DGL file.
If the design area is not empty, then it displays the Load layout dialog with three options.
- Save Layout (Menu command)
This saves the design to a DGL file.
- Preview Mode (Menu command)
This puts the application into ‘preview mode’. In this mode, menu bar and all toolbar buttons except “Edit Mode” button

will be locked. You will not be able to edit your design in preview mode.
This button will only be enabled in the ‘preview mode’. It allows you to return to the ‘edit mode’. Once in the ‘edit mode’, all panes and controls (except for the Edit toolbar button ) will be enabled. Once in ‘edit mode’, you can add or edit controls.
Allows you to exit from the application.
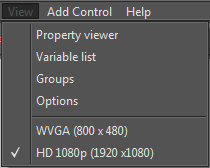
View menu
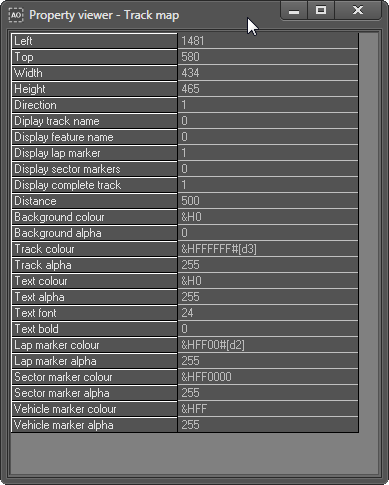
Property viewer (Menu command)
Opens a panel that shows the list of properties associated with the currently selected control.
Variable list (Menu command)
Opens the dialog that display the full list of variables that you can used with your designs.
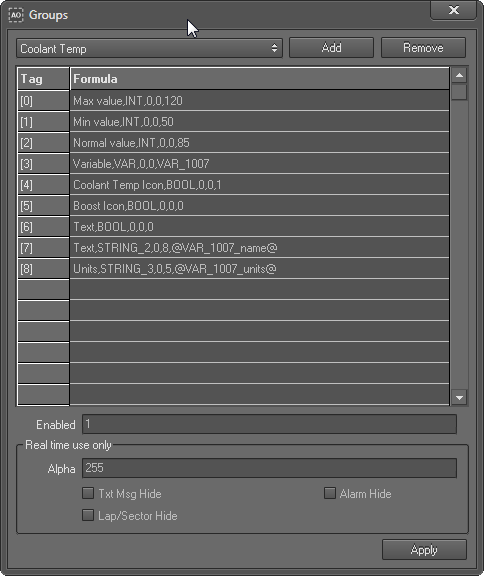
Groups (Menu command)
Opens the "Group" dialog that you can use to add new groups and user properties to your design.
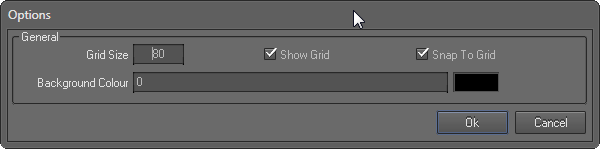
Options (Menu command)
This opens the Options form.
| Setting
| Description
| Setting is applied to or has effect on
|
| Grid size
| Allows you to specify the number of twips between grid marks. (1 pixel = 15 twips). Valid values are between 20 and 1000.
| Applied to the design pane when the “Edit” mode is active
|
| Show grid
| If this option is selected, the grid will be displayed in the design area.
| Applied to the design pane when the “Edit” mode is active
|
| Snap to grid
| By selecting this option, you will ensure that when controls are places or moved within the design area, they will snap to the grid.
| Applied to the Controls
|
| Background Colour
Note: this setting has effect on both design area and the WVGA output DGL
|
| Sets the background colour of the preview mode of design pane
(when designing both types of overlays)
| Applied to the design pane when the “Preview” mode is active
|
| Sets a custom background colour for dashboard overlays (WVGA 800 x 480)
| Background colour of the WVGA resolution overlays (Virtual dashboards). This setting is saved to the WVGA resolution DGL files.
Note: Background colour of the HD resolution video overlays are always transparent. This settings is not saved to HD resolution video overlay files.
|
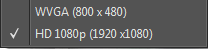
HD 1080p (1920 X 1080) and WVGA (800 X 480) (Menu commands)
These commands allow you to select the type of the overlay of your design.
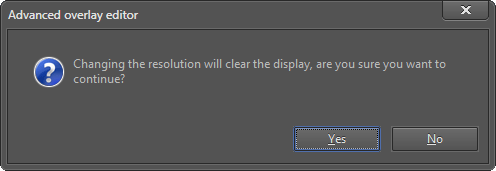
If you are already working on a design, please save it before issuing this command.
- HD 1080p (1920 X 1080) - Video graphics overlays with the resolution of 1920 X 1080
- WVGA (800 X 480) - Virtual dashboards with the resolution of 800 X 480
Advanced overlay editor needs your confirmation to proceed once you issued one of the above commands:
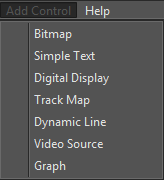
Add Control menu
The Add Control menu contains the different controls that can be added to the design pane.
More information about the controls and their properties are here.
Help menu
This will open on-line help of the Advanced overlay editor.