Exporting GoPro videos with data overlays
You can add data overlays to your GoPro videos and export them as MP4 files using the Analysis software's video export feature.
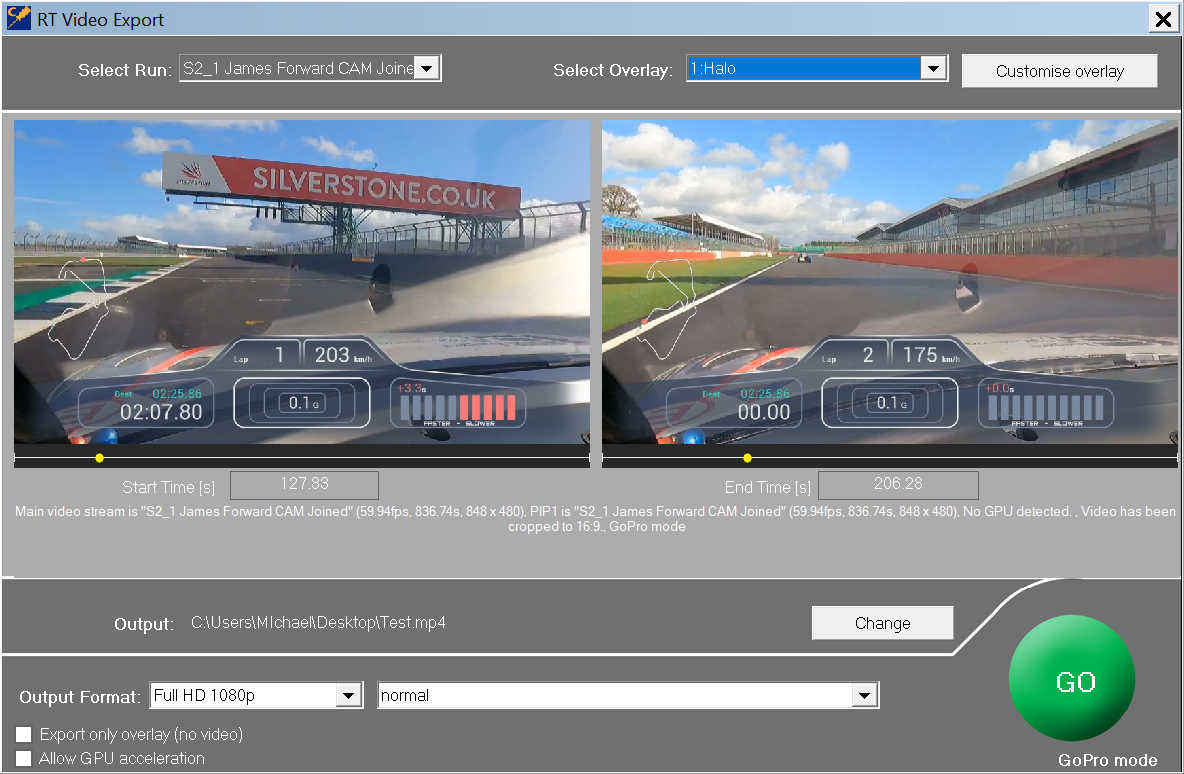
1. Open the Video export dialog using the toolbar button (or use the File -> Export As Video menu command)
2. Select a data overlay
Note:
- If you want to make changes to data overlays, click on the '''Customise overlay" button to open the video overlay designer.
- Since data overlays shown in this drop down list are copies of the data overlay files installed on your computer, feel free to make changes to the data overlays; original files will not be modified.
- If you want to design data overlays from scratch or want to do advanced customisations to the existing overlays, use Advance overlay editor.
3. Change video export settings
- Select start and end of the video export:
- Select the output video's resolution and quality
- Change the default file save location:
4. Click on the Go  button.
The Video export dialog will be resized to show the export progress:
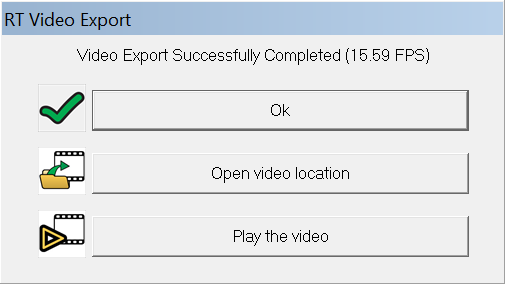
5. When the exporting finishes, you can play the generated video using RT Video playback or any other MP4 player.


