1. Setting Lap Marker And Sectors
This guide is assuming you all ready know how to set up track markers.
1.1 Set Up The Lap Marker
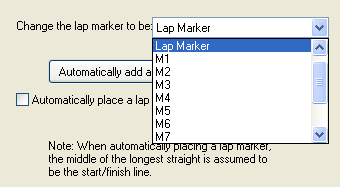
To set which marker is the Lap Marker, open up the Lap And Sector Options (Data ->Laps and Sector Options), and if you have your markers all ready in place, the drop down list will display the current Lap Marker and you can choose which you want to from the list, as shown below.
1.2 What is a Sector?
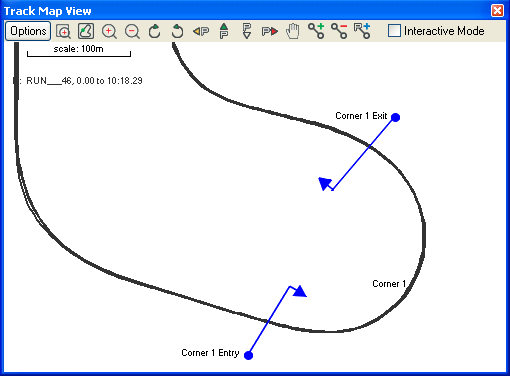
A sector is a part of the track that is between 2 track markers. For example if you have added 2 track markers to a particular track one just before a corner called "Corner 1 Entry" and another just on the corner exit called "Corner 1 Exit", then the part of the track between the 2 might be defined as a sector called "Corner 1":
Once a sector has been defined, it will be annotated on the track map as shown above.
1.3 Manually Defining Sectors
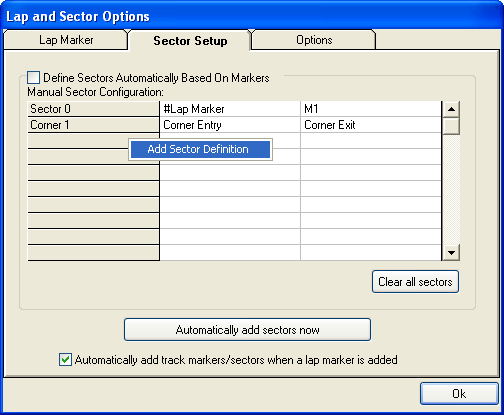
To define your sectors, open up the Lap And Sector Options and go to the Sector Setup tab. Under the Sector Configuration heading will be the currently existing sectors.
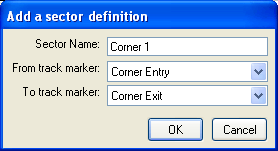
To add a new sector definition, left click on the grey box on the left of the row you want to add a sector to, and click Add Sector Definition. That will open up the following dialog:
Fill in the Sector Name field to what you want to call the sector, and then choose which track markers you want the sector to be between. Click OK to finalise your decision, then repeat until you've labelled all your sectors.
You can also click on an existing sector to rename or delete it. When you click on the Sector Name on the left, you can choose to Edit or Delete the Sector Definition.
1.4 Clearing All Sectors
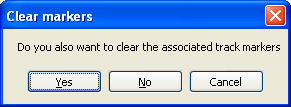
On the Sector Setup tab of the Lap And Sector Options Dialog, you can choose to clear all sectors, by clicking the "Clear all sectors now" button. When you do so, you will be asked if you want to remove the track markers aswell:
If you click Yes, you will be left with just the lap marker. If you click no, all the track markers will remain, but the sector definitions will no longer exist.

